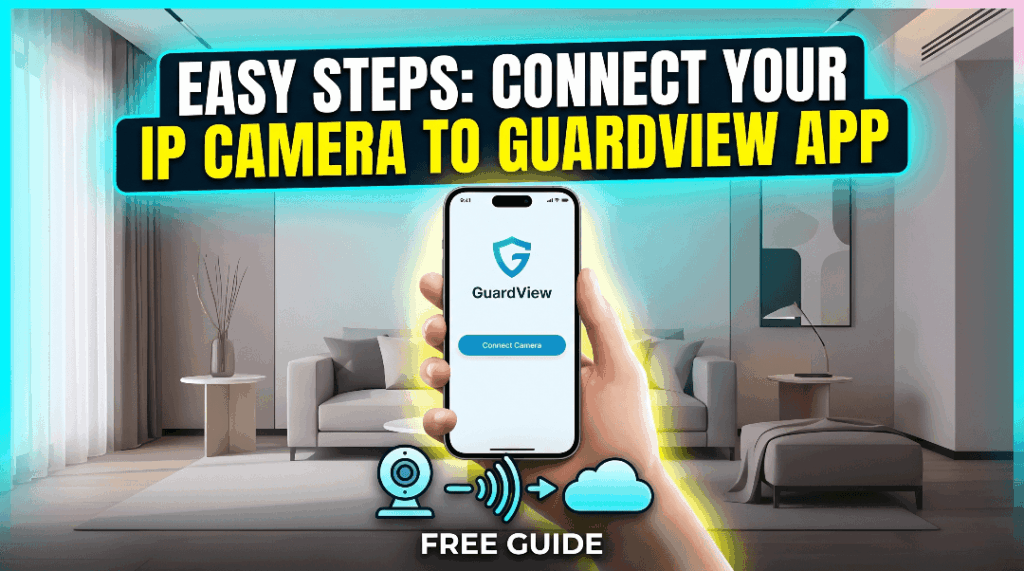
Setting up your professional surveillance system doesn’t have to be complicated. This guide will walk you through connecting your Secuview IP cameras—wired to your NVR—to the GuardView app so you can view your property from anywhere in the world.
Before You Start: What You Need
-
Secuview NVR & IP Cameras: Already powered and connected via network cables.
-
Smartphone: iOS or Android with the GuardView app installed.
-
Internet Connection: Your NVR must be connected to your router via an Ethernet cable.
-
Hard Drive (HDD): Installed inside the NVR for video storage.
Pre-Setup Checklist
-
Network Check: Ensure your NVR is plugged into your internet router and the network light is blinking.
-
Monitor Access: Have your NVR connected to a TV or monitor so you can see the main menu.
-
Phone Connection: Connect your smartphone to the same Wi-Fi network that your NVR is plugged into.
-
App Ready: Download the GuardView app and have your account login details handy.
Step-by-Step Setup Guide
-
Download the App: Find “GuardView“ on the Google Play Store or Apple App Store and install it.
-
Create an Account: Open the app, tap “Sign Up,” and register using your email address.
-
Log In: Sign into the app to reach the empty device list.
-
Find the NVR QR Code: On your NVR monitor, right-click to open the Main Menu. Go to Network > P2P (or Cloud). You will see a QR code labeled “SN” or “Device ID.”
-
Check Status: Make sure the status on the NVR screen says “Online.” If it says “Offline,” check your internet cable.
-
Add Device in App: In the GuardView app, tap the “+” icon in the top right corner.
-
Scan the Code: Use your phone to scan the QR code displayed on your NVR monitor.
-
Enter NVR Password: The app will ask for the NVR’s password. This is the same password you use to unlock the NVR on your monitor.
-
Name Your System: Once the serial number appears, give it a name like “Home” or “Office.”
-
Wait for Connection: The app will link to your NVR. This usually takes 10–30 seconds.
-
Testing Live View: Tap on your new device. You should see all your camera channels appear in a grid.
-
Check Audio & Control: Tap a specific camera to test two-way audio (if supported) or to use the PTZ controls for moving your cameras.
Settings & Management
-
Notifications: In the app, go to Settings > Alarm and enable “Push Notifications” to get alerts when the NVR detects motion.
-
Storage: Since these are NVR cameras, your video is saved on the NVR’s hard drive. You can playback recordings directly through the app’s “Playback” calendar.
Security & Privacy Tips
-
Update NVR Firmware: Regularly check the NVR system menu for updates to keep your connection secure.
-
Secure Passwords: Never leave your NVR password as “admin” or “123456.” Change it to something unique.
-
Limit Sharing: Use the “Share” feature in the app to give specific access to family members instead of sharing your main login.
Troubleshooting FAQ
The NVR status says “Offline” on the monitor.
Fix: Check the Ethernet cable between the NVR and the router, or try a different port on the router.
I can see the NVR, but some cameras show a black screen.
Fix: Ensure the POE switch or NVR is providing power to those specific cameras and check the cable connections.
The app works at home but not when I’m on mobile data.
Fix: Ensure “P2P” or “Cloud” is enabled in the NVR network settings and that your phone has a strong data signal.